Tuesday 5 April 2016

Rimmel London MAGNIF'EYES double ended shadow & liner review and quick eye look!


Hey guys!

Welcome back or if you haven't visited my blog before thanks for stopping by, I hope you enjoy!

Today I am reviewing two of the newly released Magnif'eyes shadow and liners by Rimmel as well as giving you a step by step easy eye look you can achieve using these handy little guys.


REVIEW

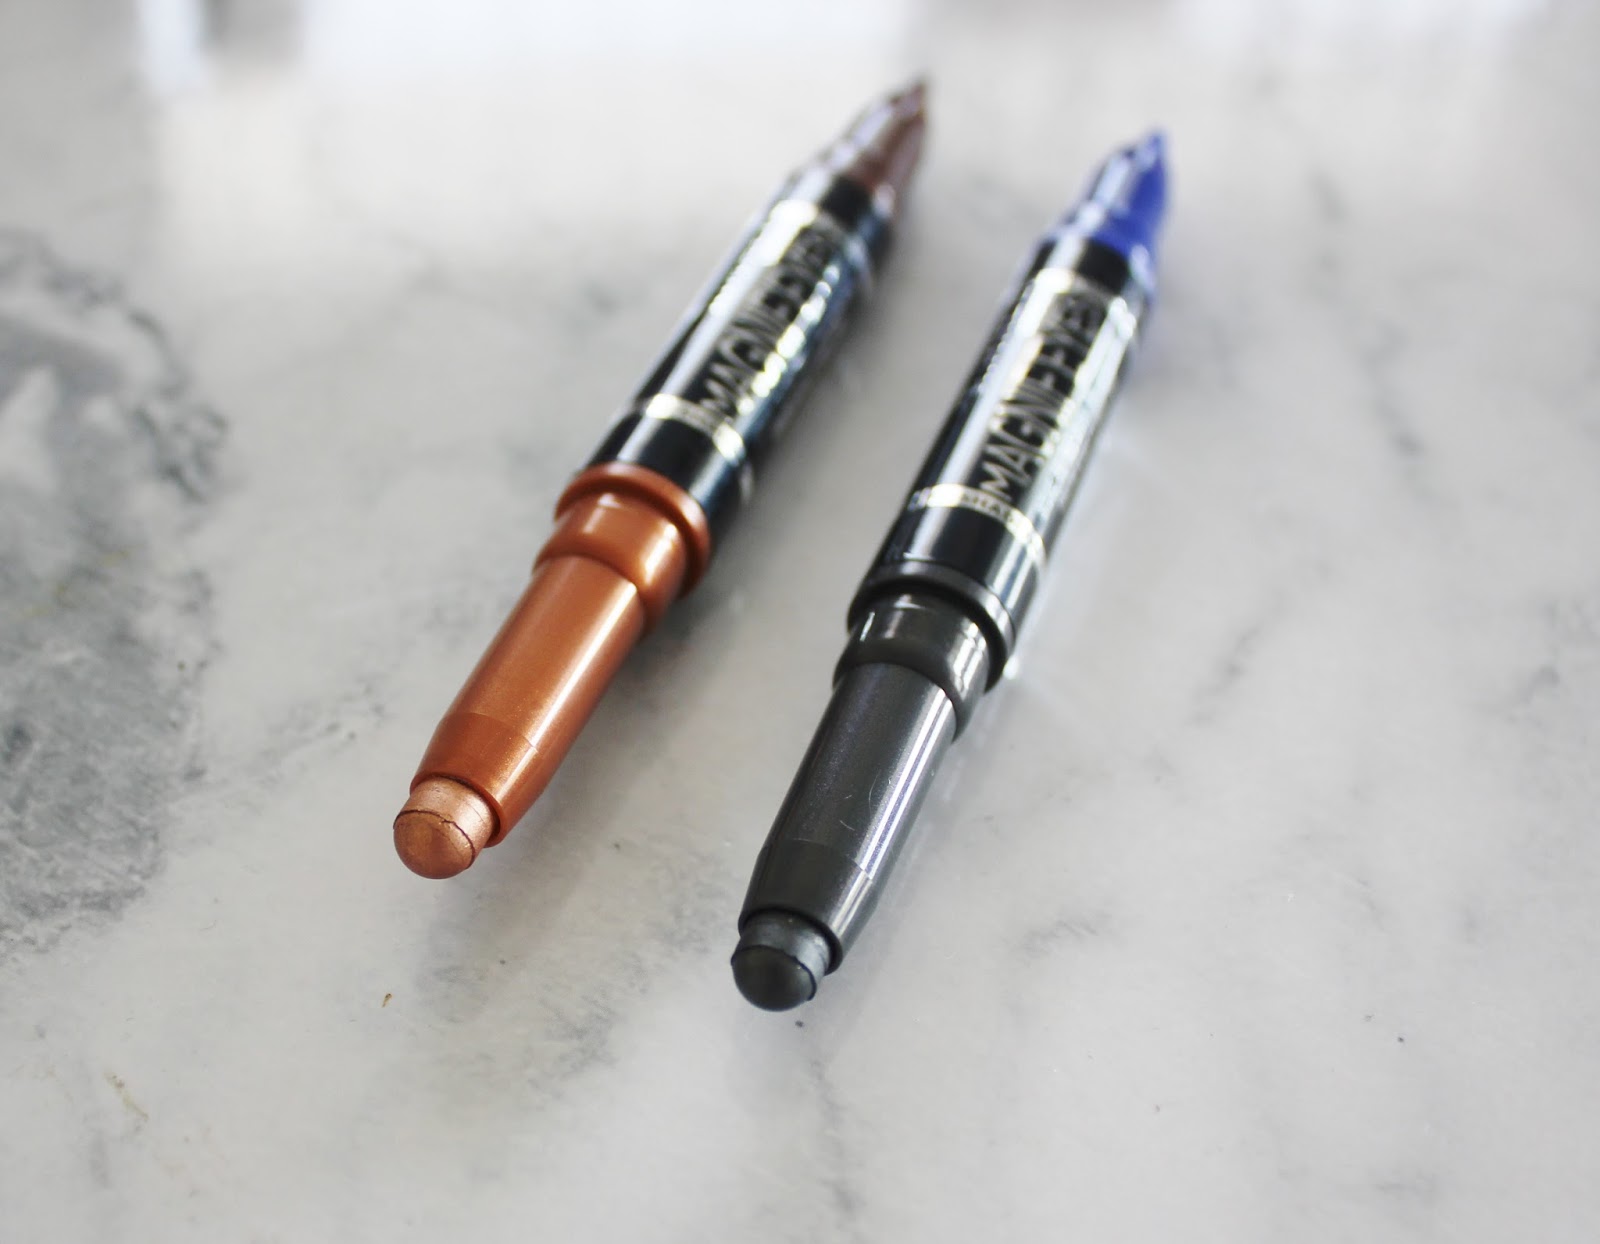
First off, their are 4 colours to choose from. I received the colours 'Kissed By Rose Gold' which has a dark brown Kohl Kajal eyeliner with a small amount of shimmer in it on one end and a beautiful metallic rose gold eye shadow on the other and the other colour is 'Dark Side Of Blue' which has a pretty electric blue on the liner side, which is matte and a steel grey with a little bit of fine shimmer through it (see swatch photos.)
There is also a black and grey and a bronze and gold option.

Two-in-one products like the Magnif'eyes are a great thing to have in your makeup bag for those days you don't want to use a heap of different products and brushes to achieve a great eye look or if you are just starting out with makeup, because these are a cream formula you can just blend them out using your fingers with minimal time and effort involved.

Eye shadow side of the pencils

These have some serious staying power! I wore them for 8 hours+ and had no creasing and only slight fading. If you are looking for a product to create a really quick look that lasts you all through the day I highly recommend you go swatch these at Priceline!
I was really surprised with how creamy and pigmented these are, they glide on really smoothly and don't tug on your skin but also aren't so soft that they will break while using them.
The only downside I see with these is because they are designed to be long wearing you do have to work with them quite quickly because once they set, they don't budge! So just keep that in mind while using them and do one eye at a time then blend straight away and you won't have any issues.

RRP: $16.95

Liner side
 
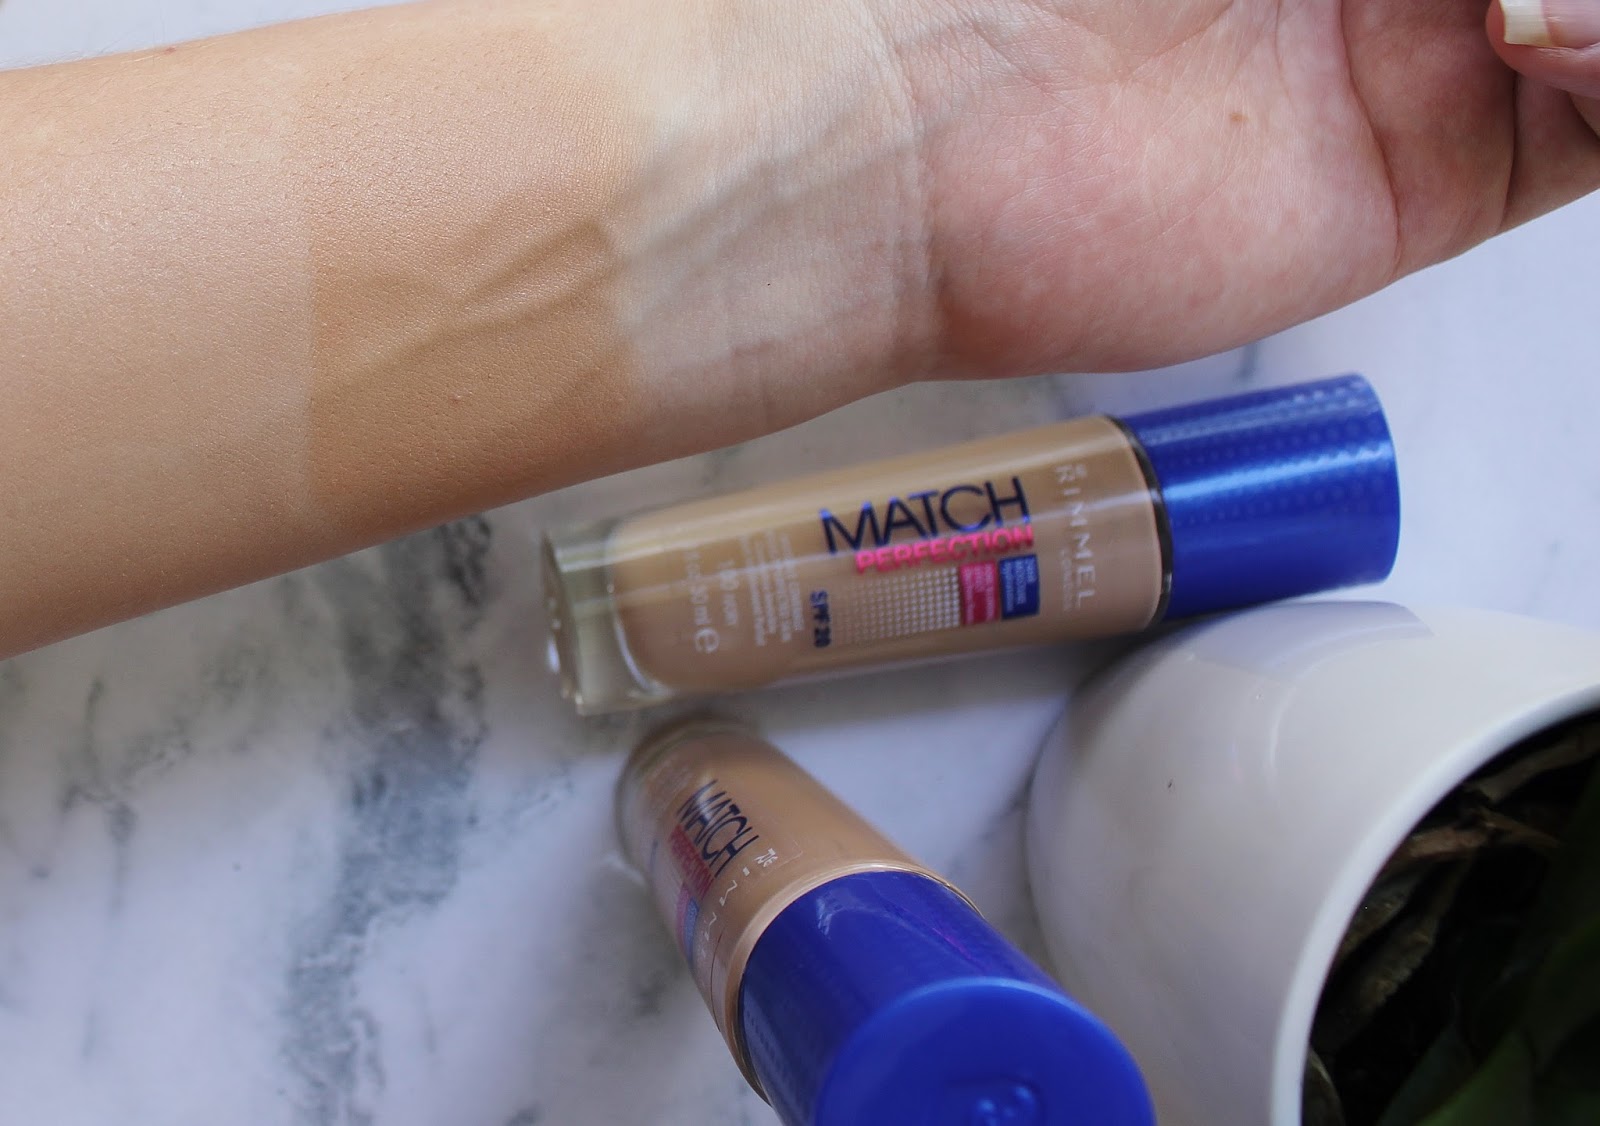
Swatches-
The two left swatches are 'Dark Side Of Blue' and two on the right are 'Kissed By Rose Gold'.

STEP BY STEP EYE LOOK


I thought I would include a 'pictorial' for an easy eye look using my favourite colour out of the two 'Kissed By Rose Gold' just to give you an idea on how you can use the Magnif'eyes shadow & liners.

STEP 1:

I applied some concealer on my eyelids firstly and set it powder to get rid of any discolouration and act as a base for the shadow then I applied the rose gold shade all over my lid almost up to my crease.


STEP 2:

I used a fluffy crease brush to soften and blend out the shadow up into my crease, you can just use your finger to gently smudge out the edges if you wanted.


 STEP 3:

I also applied some of the rose gold colour along my lower lash line and blended it out.


STEP 4:

Using the dark brown liner side of pencil I lined my upper lash line and smudged it out using a flat shader brush.


STEP 5:

You could leave it at just lining the lash line but I wanted to test out how well you can do a wing using the liner. I found it really easy to use for a winged eye as the liner is quite long you can lay it flat against your eye and it helps create the line for you. I smudged out the liner for a softer look.


STEP 6:

Lastly I used the rose gold to line my bottom water line and the dark brown colour on my upper water line and then added some mascara.


Here is the finished look. I used a dark red, matte lipstick by Klara Cosmetics in 'Vintage Burgandy' to finish it off and give it more of an Autumnal vibe, but you could match it with any lip colour you like!


I hope you guys enjoyed this post and found it helpful.
If you have any questions or things you want to see in upcoming blog posts please feel free to leave me a comment below! :)

Mary XO

Come say hi on Instagram or Bloglovin!


Disclaimer- These products where sent to me to try for free but with no obligation to review, all opinions are my own!

Tuesday 22 March 2016

Sally Hansen Complete Care 7 in 1 Nail Treatment Review


Hi everyone,

This week I am reviewing the Sally Hansen Complete Care 7 in 1 nail treatment.
Usually I have fairly strong nails, but since being pregnant they have been a bit brittle and flaky so I was excited to give this treatment a go and see if it helped.


The pink, glass bottle is really pretty and comes with a decent amount of product!


The complete nail care treatment contains avocado oil, sea salt, pomegranate extract and calcium and is said to create a durable shield that helps restore strength, moisture and natural brightness to dry, brittle nails. It claims to give you stronger, healthy-looking nails in 3 days and also helps prevent staining, fills ridges in your nails and gives shine for up to 10 days.
The great thing about this nail treatment is that you can wear it with nail polish as a base and top coat or just by it's self!

I first applied it 2 weeks ago and I can say that since I have been wearing it none of my nails have peeled at the edges like they have been and they have felt stronger and looked brighter while wearing it.

RRP $19.95 for 13.3 ml

Thanks so much for reading! Let me know your thoughts on the Sally Hansen 7in1 nail treatment if you have tried it yet!

Mary
XO

Monday 7 March 2016

Calvin Klein ck2 Fragrance Review


Hi everyone,
 
Over the past week I have been trying the newly released Calvin Klein fragrance ck2. I wasn't sure if I would like it from just reading the description of the fragrance because I thought it might be a bit too strong for me but when I smelled it I loved it and have been wearing it everyday!
 
 
Described by Calvin Klein as a gender-free fragrance for men and women that embodies the thrill of life and celebrates the diversity of connections between two people.
 
 First of all, how cool is the packaging? The pill shaped bottle has a very minimalistic look to it and has been designed so you can use the base as a stand and just grab it when you need it without having to take the cap off each time, which also makes the room smell great!


Ck2 is a gender free fragrance that is designed to be worn by anyone. 
Ck2 is a follow up from Calvin Klein's ck one fragrance which was released in the 90's and was also gender free.
Ck2 is described as urban woody fresh, with innovative, never before used ingredients like wasabi and wet cobblestones. The more you smell it the more you can pick out the different notes.
Here is a break down of them:
 
Top Notes   
Wasabi
Mandarin,
Violet leaf absolute

Heart Notes                                   
Wet cobblestones
Orris concrete (derived from Irises)
Rose absolute

Base notes                                  
Vetiver (earthy, citrus smelling grass)
Incense
Sandalwood


As you can see there are some unusual notes like wasabi and wet cobblestones, but they work really well with all the other scents to make it an overall really fresh, woody and slightly spicy fragrance.
Don't be put off thinking it sounds too masculine, as it still has floral notes like violet and rose which balances it and makes it perfect for anyone to enjoy.
Ck2 was released last month so next time you are in Priceline or Myers go give it a sniff!
 
RRP for 100ml is $99


Thanks for reading!

Mary
XO

Come follow me! :)
Bloglovin'
Instagram


Disclaimer- This product was sent to me to try but with no obligation to review. All opinions are my own.

Tuesday 16 February 2016

Rimmel The Only 1 Lipsticks and Exaggerate Lip Liner Review and LipSwaches


Hello everyone,

Tonight I have a review and lip swatches of the newly released lipstick collection by Rimmel London called 'The Only 1'.
Rimmel claims that their new formula of lipstick is a 'lipstick revolution' being a no compromise, all in one lipstick that delivers high impact, long lasting colour, comfort, moisture and wear.


Review

The Only 1 lipsticks are a totally new formula to Rimmel and I have to say I really like it! Like Rimmel claims, they are really opaque with intense pigmentation. When you first apply them they feel really glossy and moisturising then after a few minutes they settle to a really nice satin finish and last a good few hours on my lips. They aren't transfer proof but the colour doesn't run like I thought it might when I first applied and they don't dry out my lips at all.
 
I don't mind the look of the packaging, but the shape of the cap makes it difficult to store upright with other lipsticks because it tapers up wider at the top, a normal shaped cap would have been a bit more convenient for me but in saying that the packaging is nice and sturdy and has a helpful colour band with the accurate colour on it.
 
They have a floral scent which I like, but it is a bit stronger than the other Rimmel lipsticks, it does die down after a few minutes of applying though.
 
In Australia there are currently 12 colours to choose from with a couple of neutral options but mostly bright pinks, corals and reds.
 
The Only 1 lipsticks retail at $15.95 but Priceline are having a introductory offer at the moment and they are currently only $10.95!
 

Lip Swatches

 
700 Naughty Nude

200 It's a Keeper

120 You're All Mine


600 Peachy- Beachy

610 Cheeky Coral
110 Pink A Punch


Exaggerate Full Colour Lip Liner

 
Rimmel have recently released a few more shades of their Exaggerate lip liners, there are now 6 shades to choose from.
The colour I have is Peachy-Beachy a pretty bright coral that is the same colour as one of the new lipsticks.
It has quite a waxy consistency but is still smooth. It is best used to just outline the lips and not to fill them in as it feels a bit tacky and drying when applied all over.
I really like the fact it is wind up so there's no need to sharpen and it has an angled edge for easy application.
 
RRP is $12.50 at Priceline.
 
Matching Exaggerate lip liner 102 Peachy-Beachy


Thanks for reading, I hope you found this post helpful!
Let me know in the comments if you have tried The Only 1 lipsticks yet and what your thoughts on them are, I'd love to know!
 
Mary
XO


Disclaimer- These products where sent to me to try for free but with no obligation to review. All opinions are my own. 
 

Tuesday 9 February 2016

Rimmel Match Perfection Foundation (new formula) & Fix & Protect Primer Review


Happy Tuesday everyone!
 
I hope you are having a great start to the week.
 
Today I am reviewing the new formulation of Rimmel's Match Perfection foundation and Fix & Protect makeup primer.
 
Scroll down for a review, swatches and before and afters.


Rimmel Fix & Protect Makeup Primer

30ml $13.95

This primer acts as a protective barrier for your skin. It helps shelter skin from pollution, is anti-stress, and is also skin perfecting.
I didn't notice a difference in longevity of foundation wear or any minimizing of pores but it does make my skin feel really soft and hydrated and foundation go on smoothly.
It feels really light weight and non greasy and blends into my skin easily. It has an SPF of 25 so you can wear it under foundation or just as a sunscreen.
The consistency is thin and runny and has the standard Rimmel foundation fragrance.


Rimmel Match Perfection Foundation

30ml $18.95

This is the reformulated version on the first Match Perfection foundation which I haven't tried before, but I have really been enjoying this new version.
I love the satin finish of the foundation, it isn't too matte or dewy and feels really silky and light on my skin but still has a good medium, buildable coverage which looks really natural.
It has a 24 hour moisture complex which helps keep my dry skin hydrated and doesn't cling to any dry patches and also has SPF 20 which makes it a great day time foundation.
They say it has soft focus powders which help reduce the appearance of imperfections, pores and dark circles.
The packaging is nice and has a pump which is always helpful.
It is a medium consistency and really easy to blend, I use my Models Prefer foundation brush and two pumps of foundation. I mix two shades together at the moment to get the right colour, 100 Ivory and 200 Soft Beige (both of these colours have yellow undertones.) There are 8 colours to choose from in Australia.
It is quite fragranced like Rimmel's other foundations, which I don't mind as it doesn't irritate my skin.
Lastly, I find depending on how humid it is I generally get 6-8 hours wear out of it before it starts to fade in certain places.
Overall I would defiantly recommend the Match Perfection as a great everyday wear foundation.


Left- Ivory Right- Soft Beige

Blended in.


Before & After


Here are some before & afters of my skin using the primer and foundation. Don't mind my skin, I've been having some breakouts lately :(. The foundation does a good job of covering a lot of the redness.


Before

With primer.

After foundation.

Finished makeup.


A close up of my skin.


I hope you guys enjoyed this post, thanks for reading! Let me know in the comments if you have tried the Match Perfection foundation before or what your favourite foundation is at the moment.
 
To keep up with my posts feel free to follow me on Bloglovin' and Insagram.
 
Have a great week :)
 
Mary
XO


Disclaimer- These products where sent to me for consideration, but all opinions are my own.


Tuesday 2 February 2016

Younique Moonstruck Mineral Pigment & Eyeliner Review


Hi guys!
 
This week I'm writing a review on two products from the brand Younique. I purchased these a few months ago through my lovely friend Amanda who is a rep for Younique. I thought I'd write up a blog post with my thoughts on the products with some swatches.


Moonstruck Mineral Pigment 

$16 for 12g of product.
 
The packaging of the pigments is really nice and simple, it includes a sieve so you don't get too much product out at a time which is helpful.
I really like pigments to use all over the lid for an easy eye look and this pigment works great to pat on your eyelid and blend into the crease with a light brown matte eyeshadow colour. 
Their are 34 colours to choose from in the pigments, the colour I chose is called 'Confidant', which is a shimmery, bronze colour with gold reflects. 
You can apply these pigments either wet or dry but I find they are easier to apply dry and gently pat over the eyelid using a flat shader brush or your finger so you minimize fallout. 


Here I am wearing the pigment all over my lids and as you can see it shows up differently when in different lighting.

Moonstruck Precision Pencil 

$20 for 1.2g of product.

Their are 10 eyeliner colours to choose from, the colour I bought was 'Perfect'. They say the eyeliners are waterproof and smudge proof which I would agree with as it stays on my waterline for most of the day. The pencil applies smoothly and is creamy and opaque. The casing of the pencil is plastic but can be sharpened just like a wooden one.

The only thing was that when I was looking at the swatches for the pencils and on the back of the actual packaging it looked brown but then when I got it, it was black which I'm not sure if it was packaged wrong or something but it didn't really bother me as I can always use black eyeliner. Younique do have a 'love it guarantee' but in this instance I was happy to keep it.


Well, that's it for now :) I hope you found this post helpful and if you want to see the Younique products for yourself Amanda has a Facebook page where you can check them out and ask her any questions you might have.

Oh and also, I will be doing a bonus post this week with some makeup look ideas for Valentines Day which is coming up in a couple of weeks! If you don't want to miss it you can follow me on Instagram,  Bloglovin', or Google+ :)

I hope you all have a lovely week!

Mary
XO


Disclaimer~ This post is in no way sponsored and I purchased the products myself.

Tuesday 26 January 2016

Rimmel London Sun Shimmer Instant Tan & Self Tan Mousse Review


Hi guys,
 
Happy Australia Day! I hope you all had a lovely day celebrating.
 
Over the last couple of weeks I have been trying out the recently released Sun Shimmer self tanners from Rimmel London and I am really impressed with how they performed!
Scroll down for a review, and before and after photos!


Rimmel Sun Shimmer Wash Off Instant Tan  


I decided to try out the Sun Shimmer Instant Tan first. There are two shades available, I used medium.
It's always a good idea to exfoliate before applying any sort of fake tan so I used Anatomicals Melon body scrub which works great.

The Rimmel Sun Shimmer instant tan 9 in 1 BB skin perfector acts as a BB cream for your face so it does multiple jobs.
It claims to soften, smooth, moisturise, give an instant tan, create a healthy looking glow, even out skin tone, cover, perfect and last up to 24 hours.

I just decided to apply this with my hands because I needed to go buy a new tanning mitt. It washed of my hands easily with soap, but I would suggest using a mitt just to be safe!
The consistency is really nice, it just felt like putting on a moisturiser. It was really quick to apply as it blended in really easily. It has a nice fragrance with no funny fake tan smell.
As you can see in the photos below, it gave a really natural, even looking tan. My legs felt really soft and silky afterwards and the tan dried in a couple of minutes and didn't transfer onto my clothes even in the hot and humid Queensland weather!

I wore it all day and went swimming with it on in the evening. I thought it might run everywhere and be really messy, but it just came off mostly in the water without going patchy or running and left my skin feeling super smooth afterwards.
This product is ideal as a starting point for someone wanting to try fake tanning
 as it's so easy to apply, washes off easily and gives a nice bronzy glow.


Left- Before
Right- After applying Sun Shimmer Instant Tan


Rimmel Sun Shimmer Self Tan Mousse


There are three shades available in the mousse. Light, medium and dark all are matte colours. I used medium and it gave a perfect natural looking tan. 
Like Rimmel's instant tan, it has no bad fake tan smell and is fragranced. It is also green based so it won't make you go orange ( so you won't look like Ross from Friends, if you're a fan you'll know which episode I mean. ) 
Anyway... to prep my skin I used an exfoliator and also moisturised, make sure you pay special attention to your ankles, knees, wrists, elbows, hands and feet where you tend to get extra dry skin, as fake tan tends to go quite patchy if you haven't exfoliated. I do this at least a few hours before tanning as it gives the moisturiser a chance to sink in properly and I always shave the day before so I don't irritate my skin.
When applying the tan I used a Le Tan tanning mitt and a while ago I saw Jaclyn Hill use a really cool trick where she used a foundation brush to buff the tan into to her face and neck, which is an awesome idea and works a treat! I also did this on my neck and hands to make sure they where even and streak free.
I really like the formula and consistency of the mousse, it's really lightweight and easy to apply. Because it  has a instant colour you don't go over where you have already been and it dries within a couple of minutes and doesn't feel sticky and once it dried it didn't transfer onto my clothes at all. The tan develops in one hour so it's great if you have an event or something last minute that you want to look nice and bronzed for. I left mine on over night just to see if it would crease or transfer onto my sheets and it didn't which is awesome, it also did get a bit darker over night as well. My skin generally gets pretty dry, especially if I have fake tan on but the formula of the mousse is oil enriched so it made my skin feel nice and soft and I only felt like I needed to moisturise a few days out of the week.
When you wash it off in the shower the excess tan comes off and leaves a really nice natural colour that didn't go patchy and lasted 5 days before starting to fade slowly. There is photo below of what the tan looked like after the week was up, it lasted really well and this is now a new favourite!


What I use to prep my skin and apply the tan.
Models Prefer Airbrush foundation brush, Anatomicals melon body scrub and Le Tan tanning mitt.


Left- Before tan
Right- After washing off tanning mousse.


Left- Instant tan
Right- Mousse.


After 1 week of applying


That's it for this Tuesday, thanks so much for reading my post! I hope you enjoyed it.
If you haven't already, feel free to check out my last post on one of A'kin's amazing moisturisers.
Or come say hi on Instagram or Bloglovin' :)
Mary
XO


Disclaimer- These products where sent to me for consideration, but all opinions are my own.